
Yesterday, Jason and I spent the whole afternoon working our way through the first play test of the Sair Bair scenario. We covered the August 6/7 night attack. In this photo, the Ottoman trench lines can be seen snaking their way up Sari Bair ridge on the right. The Australian lines have company stands with bright green flock. We modelled the outcome of the Lone Pine attack, with two Australian stands in the Ottoman trenches.
Bottom and middle left are the right and left covering and attack forces. A Short seaplane can be seen, along with a destroyer torpedo boat, monitor and light cruiser off North Beach.
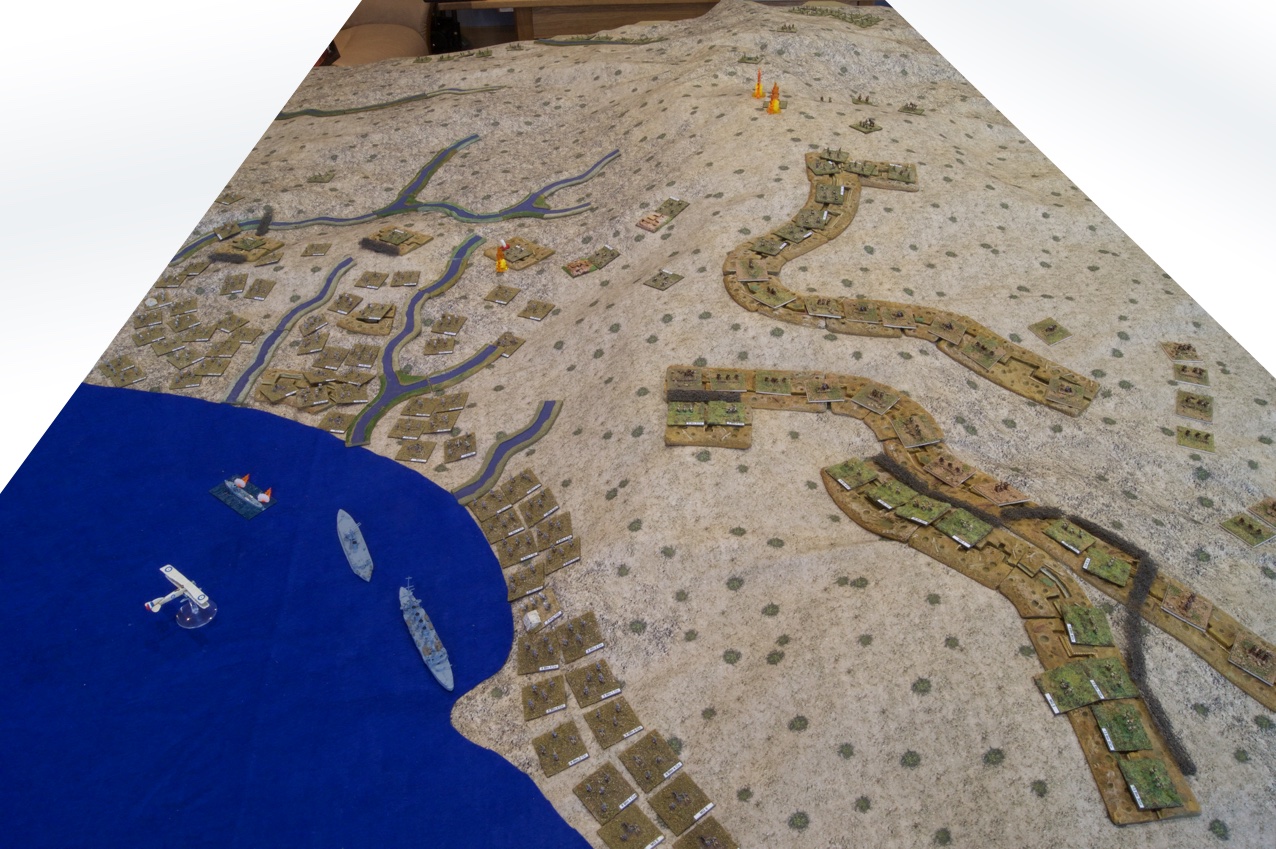
Click on the photo to open the full-size image.
Here is a closer view of the New Zealand Mounted Rifles assaulting Table Top defensive position, with covering fire from HMS Colne and land-based howitzers:
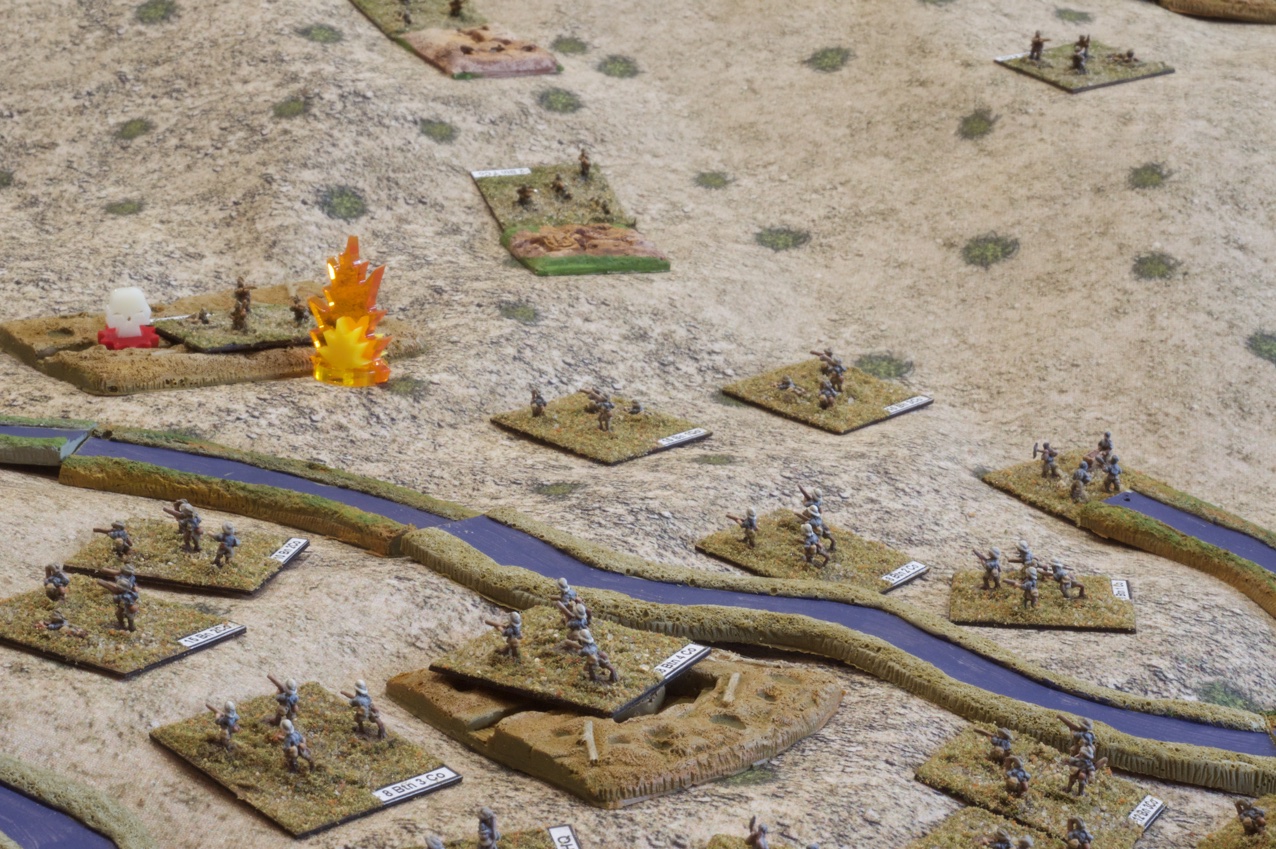
Click on the photo to open the full-size image.
A company of Maori engineers can be seen middle-right, opening the way up Sailek Dere.
On the far left flank, British troops can be seen bypassing Walden Point, which is being assaulting by elements of the Canterbury Mounted Rifles regiment:

Click on the photo to open the full-size image.
All of the figures are from Baccus. I started laying TimeCast latex river sections to model the gorges and ravines. It worked well but I will need some more, painted up in the same style as the trenches, without water ;-)
It was a fascinating day’s work. I really enjoyed the opportunity to model how the night attack started out. The process is already revealing why there were problems trying to crest Sari Bair by 4.30 am on 7 August! Lots more to do and test though.